Discounted Yeast Selection
Save some of your hard earnt money by using our Discounted Yeast that has sadly passed its “Best Before” date before we had a chance to get it into your next batch.
It happens to everyone who stocks yeast products.. sometimes a few strains are still on hand past the recommended “best before” date and then the question of what to do with them comes up.
We could simply toss them out, then no one gains anything and it is a total waste.
Or, we could find a way to encourage people to build up this depleted (not dead, just depleted) yeast and either store it or use it in an upcoming batch, and this is what we have decided to do.
HERE IS HOW IT WORKS
When we identify expired yeast in the fridge, we will move it out of normal stock, into expired stock, and relabel it.
We have reduced the price per pitch.
Our goal is to keep from having to throw yeast away, so while this costs us some time and materials, we hope it will encourage a few people to look at expired yeast differently. With a little TLC, it is easy to bring old yeast back to very pitchable quality.
THE STEPS TO MAKE A YEAST STARTER
The following are general instructions that can be applied to all sizes of starter:
Determine the appropriate starter volume to achieve the target number of viable yeast cells for your beer. Remember, you can use an online yeast calculators to quickly determine these variables. Here are links to a couple of popular calculators;
Brewfather Yeast Calculator
Yeast Pitch Rate and Starter Calculator
Weigh out 1 gram of Light Dried Malt Extract for every 10 milliliters of target starter volume.
Add the dry malt extract to the vessel you will be boiling in, such as an Erlenmeyer flask.
Add enough water to the boil vessel (dry malt already added) to reach the target starter volume.
Add about 1/4 teaspoon of yeast nutrient to the boil vessel. You can use slight less for starters under 1-2 L and slightly more for ones larger.
Bring to a gentle boil for about 15 minutes. Keep the boil vessel covered to maintain as much of the volume as possible.
After 15 minutes, allow the wort to cool.
If needed, transfer the liquid to the vessel that will hold the starter. (Note: As with beer, anything that comes into contact with the starter wort post-boil should be properly clean and sanitized).
Pitch yeast into the chilled starter wort.
Use a stir plate or intermittent shaking to add vital oxygen to the starter.
Pitch into beer once ready, or store in the fridge until needed.
Starters are typically either pitched during high krausen or after active fermentation has subsided.
Pitching at high krausen, or at the height of the starter fermentation’s activity, which typically is 12-18 hours after pitching the yeast into the starter is the most convenient method. Simply pitch the entire contents of the starter into the wort of your homebrew once it’s ready.
Be sure the temperature is within 5-15°C of the wort’s temperature when using this method. If it’s too hot or too cold, it can shock the yeast and ultimately create problem fermentations.
Warm starters or starters with volumes more than 5% of the main batch volume need additional preparation. First, allow the fermentation to basically complete and then chill the starter by placing it in the fridge until it is near the temperature of the wort it is intended for. Decant the liquid and pitch only the yeast cake.
That’s it! You just pitched the perfect amount of yeast in your homebrew.
Note: The discounted yeast selection is a “buy at your own risk”, we hold no liability and refunds are not offered on expired yeast.
Showing all 23 results
-

Cider Yeast (Sweet) 50g – Expired: Jan-24
$ 6.00 incl. GST -
Cider Yeast (Tutti Frutti) 50g – Expired: Jan-24
$ 6.00 incl. GST -
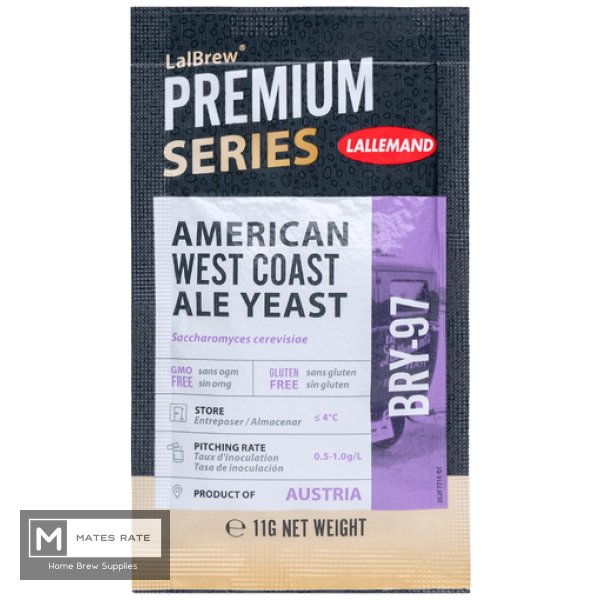
Lallemand BRY97 American Ale 11g – Expired BBE Date: Oct-23
$ 4.00 incl. GST -
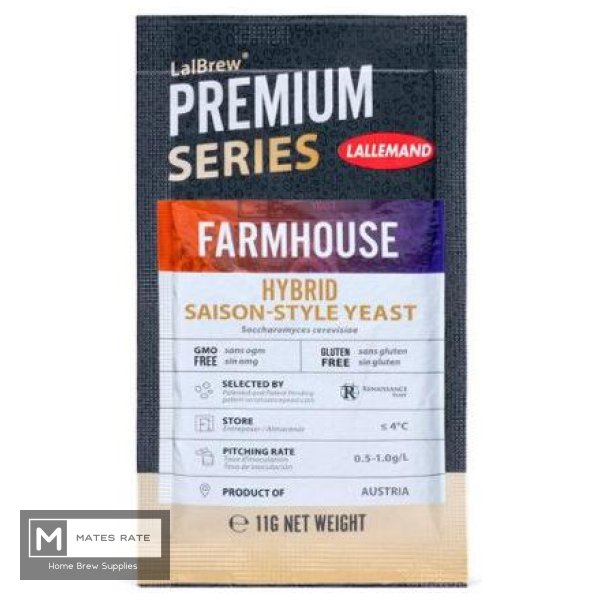
Lallemand Farmhouse 11g – Expired BBE Date: Feb-23
$ 4.00 incl. GST -
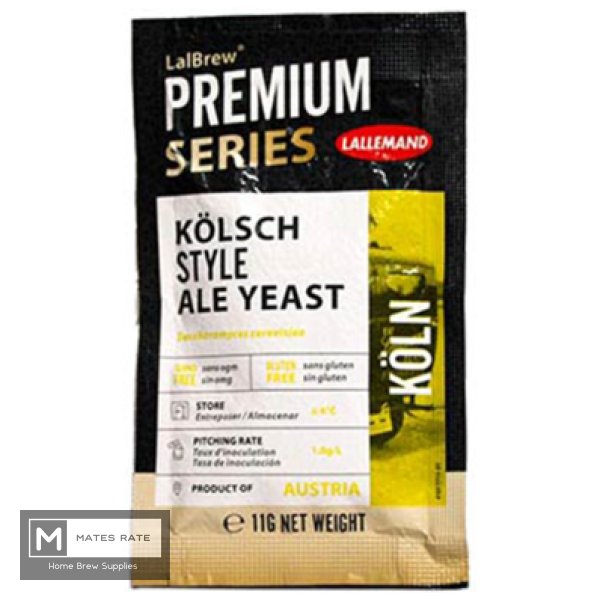
Lallemand Koln Kolsch 11g – Expired BBE Date: Oct-23
$ 4.00 incl. GST -
Lallemand Munich Classic 11g – Expired BBE Date: Jan-23
$ 4.00 incl. GST -
Lallemand Philly Sour 11g – Expired BBE Date: May-23
$ 4.00 incl. GST -
Lallemand Premium Wit 11g – Expired BBE Date: Dec-23
$ 4.70 incl. GST -

OYL-006 BRITISH ALE I – Expired BBE Date: Dec-23
$ 10.00 incl. GST -
OYL-012 PACIFIC NW ALE – Expired BBE Date: Dec-23
$ 10.00 incl. GST -

OYL-016 BRITISH ALE VIII – Expired BBE Date: Dec-23
$ 10.00 incl. GST -
OYL-030 WIT – Expired BBE: Nov-22
$ 10.00 incl. GST -
OYL-033 Jovaru™ Lithuanian Farmhouse – Expired BBE Date: Dec-23
$ 10.00 incl. GST -

OYL-044 KOLSCH II – Expired BBE Date: Dec-23
$ 10.00 incl. GST -
OYL-057 HOTHEAD® KVEIK – Expired BBE Date: Dec-23
$ 10.00 incl. GST -
OYL-090 ESPE KVEIK – Expired BBE Date: Dec-23
$ 10.00 incl. GST -
OYL-106 GERMAN LAGER I – Expired BBE Date: Dec-23
$ 10.00 incl. GST -

OYL-114 BAYERN LAGER – Expired BBE Date: Dec-23
$ 10.00 incl. GST -
OYL-211 BRETT BLEND #2 BIT O’ FUNK – Expired BBE Date: Dec-23
$ 10.00 incl. GST -
OYL-217 C2C American Farmhouse Ale – Expired BBE Date: Dec-23
$ 10.00 incl. GST -
OYL-218 ALL THE BRETTS – Expired BBE Date: Dec-23
$ 10.00 incl. GST -
OYL-501 Gulo® – Expired BBE Date: Dec-23
$ 10.00 incl. GST -
WLP077 Tropicale Yeast Blend (PurePitch Next Gen) – Expired BBE Date: Jan-24
$ 21.95 incl. GST